We are going to add an RGB indicator to our MultiSensor project. The module i used is a HW-479 also know as KY-016 .
Parts you need :
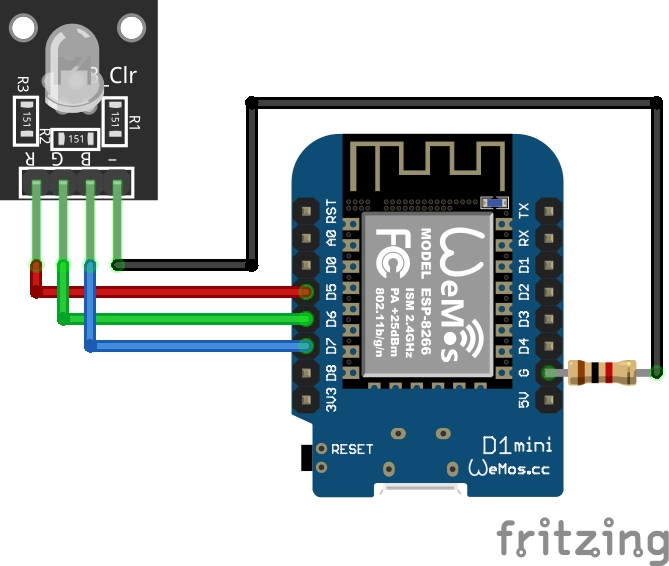
Here is the electronic wiring diagram :
Now go to Home Assistant, ESPHome (See illuminance tutorial if needed).
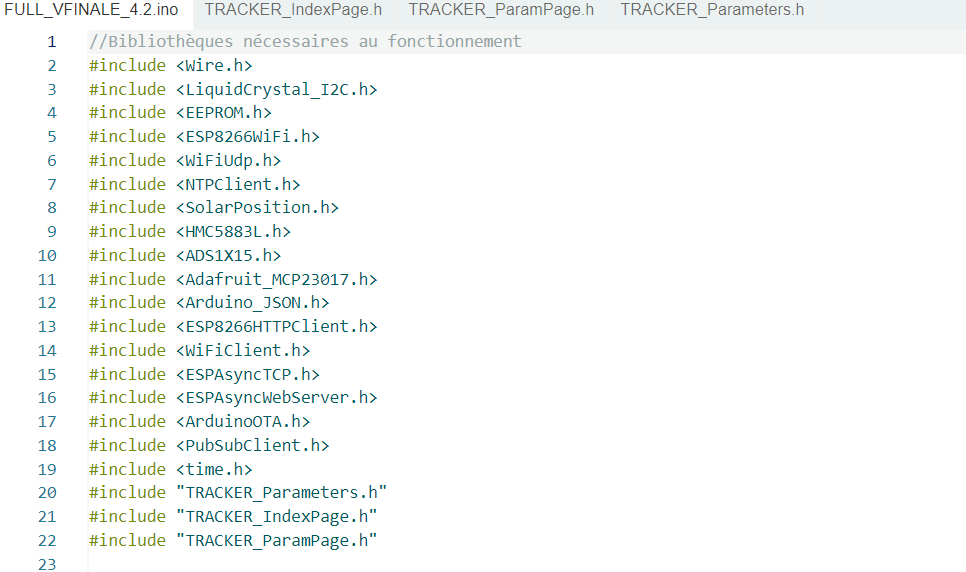
Here is the code to use (Use previously generated code before output declaration, with your own keys instead of ***) :
esphome:
  name: multisensor1
  friendly_name: MultiSensor1

esp8266:
  board: d1_mini

# Enable logging
logger:

# Enable Home Assistant API
api:
  encryption:
    key: "*****************************"

ota:
  password: "**************************"

wifi:
  ssid: !secret wifi_ssid
  password: !secret wifi_password

  # Enable fallback hotspot (captive portal) in case wifi connection fails
  ap:
    ssid: "Multisensor1 Fallback Hotspot"
    password: "*******************"

output:
  - platform: esp8266_pwm
    id: RGB_Led_Red
    pin: D5
  - platform: esp8266_pwm
    id: RGB_Led_Green
    pin: D6
  - platform: esp8266_pwm
    id: RGB_Led_Blue
    pin: D7

light:

  - platform: rgb
    name: "LED RGB"
    red: RGB_Led_Red
    green: RGB_Led_Green
    blue: RGB_Led_Blue
Nothing more needed. Send the firmware to the WeMos D1.
Go to settings in Home Assistant, devices, select ESPHome integration, devices –> MultiSensor1
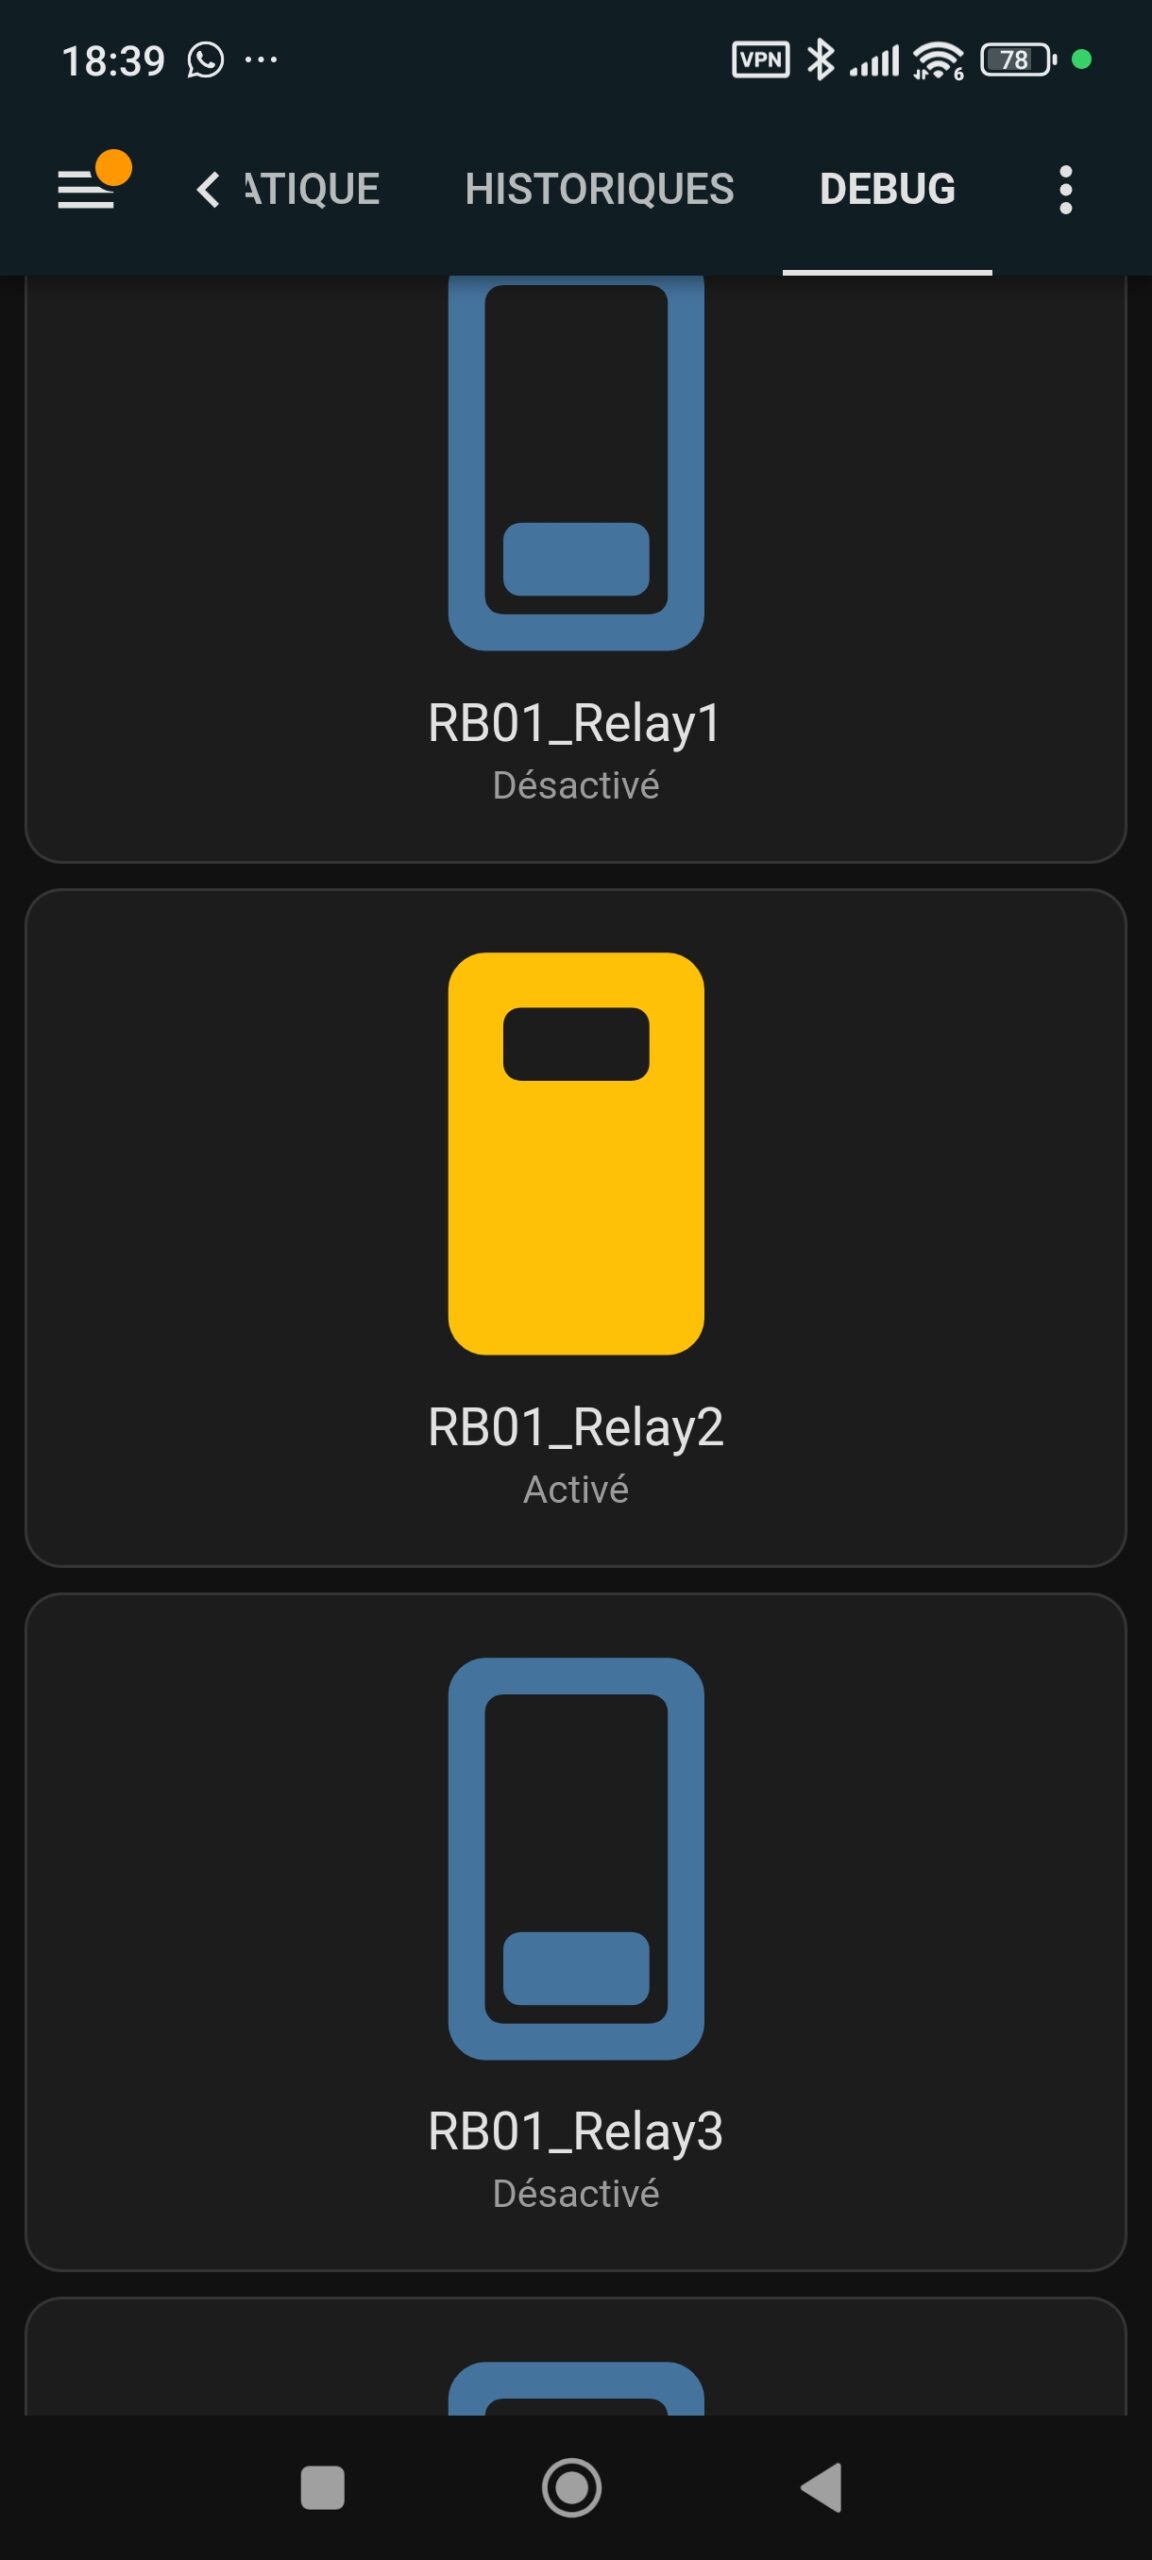
You will see the switch to activate the RGB Led :

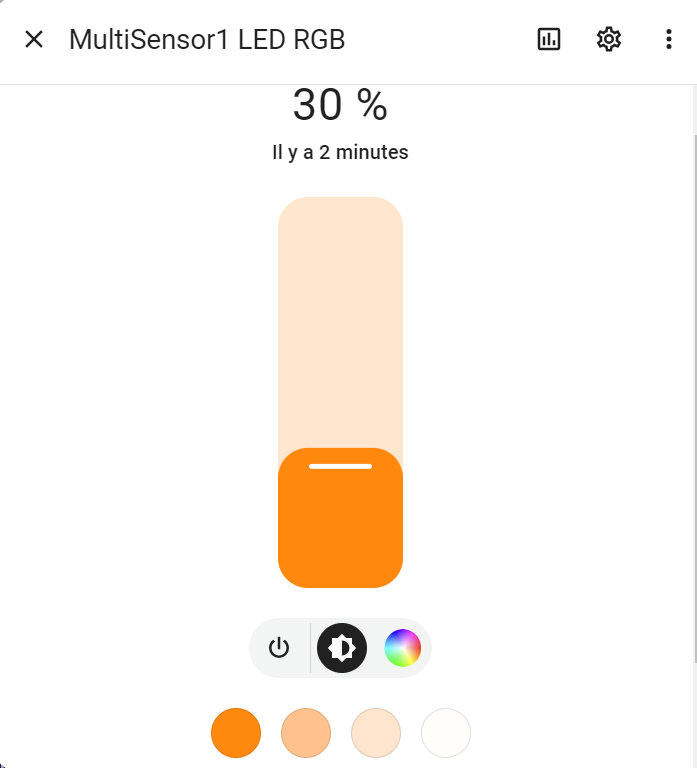
Now you can select the light for advanced control :
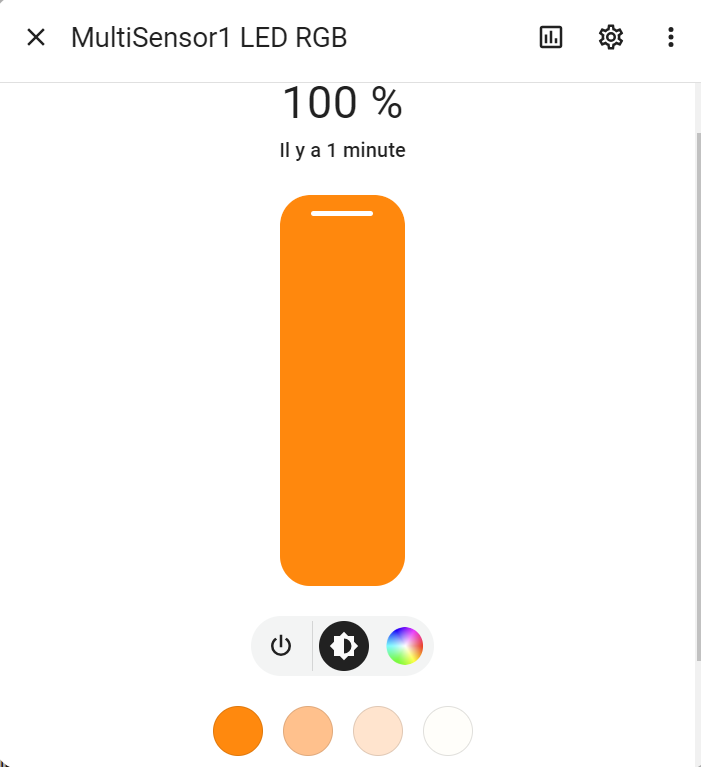
You can select light intensity and color :

Have fun setting up automations !


Leave a Reply
You must be logged in to post a comment.